How to Waterproof a Shower - Step by Step Full Installation Video Guide
Overview
1
Start your remodel by removing the old shower and preparing tools.
A shower remodel is started by removing the previous shower or bath and prepping the area and the tools needed. These videos will show you how to demo and remove a fiberglass shower, and then which tools you will need for this waterproof shower installation.
1
Demolish and remove previous shower or clear shower area.
2
Prepare tools needed for new shower installation.
2
Choose your shower drain and shower tray.
The look and feel of your shower is determined by your drain and how easy it is to install is determined by the shower base.
1
Choose shower drain type, a square drain, linear drain, or others.
2
Choose shower base, either shower tray or mortar bed.
3
Install a square drain or linear shower drain in a shower tray or mortar bed.
Choose between using a motar bed or a shower tray. Prepare the area and plan ahead for the drain as well as the slope of the shower, roughly 2% or 1/4 inch per foot.
1
Install and extend the shower tray.
2
Connect and install the linear drain.
3
Connect the square drain to the plumbing.
4
Install the mortar bed around the square drain.
4
Improve your shower with a shower bench or shower niches.
Luxury showers include a lot of extra shower ammenities. Shower niches, shower benches, and extra shower shelves are ways to upgrade to the next level of showers. Radiant heat flooring and other luxury shower items can be installed here.
1
Upgrade with a shower niche.
2
Purchase or build a shower bench.
3
Install radiant heat flooring system.
5
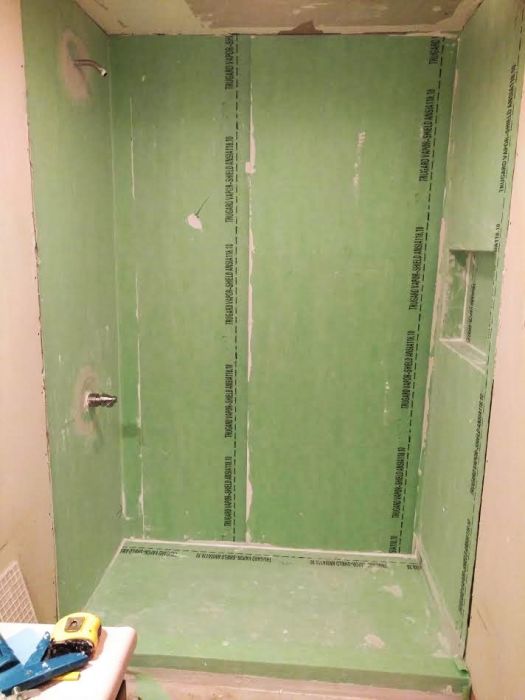
Pre-cut and then apply floor, wall, corners, and seals membrane with sealant.
Follow directions on how to pre-cut and pre-fold the waterproof membrane starting with the floor so all layers overlap in the direction of the flow of water. Then seal inside corners, outside corners, shower valves, and pipe seals with the appropriate seals kit items and apply sealant.
1
Pre-Cut and Pre-fold with a 2" overlap.
2
On the floor apply membrane to the area.
3
Run the wall membrane overtop of the floor.
4
How and Where to use TruSeal Sealant.
5
With sealant, apply inside and outside corner seals.
6
Around the valves, use a shower valve seal.
7