-
110sqft Standard Shower Kit - Square Drain
Regular price $335.31Regular priceUnit price per -
165sqft Standard Shower Kit - Square Drain
Regular price $413.00Regular priceUnit price per -
330sqft Standard Shower Kit - Square Drain
Regular price $617.15Regular priceUnit price per -
110sqft Standard Shower Kit - Linear Drain
Regular price From $563.71Regular priceUnit price per -
220sqft Standard Shower Kit - Square Drain
Regular price $488.14Regular priceUnit price per -
165sqft Standard Shower Kit - Linear Drain
Regular price From $641.40Regular priceUnit price per -
32" X 60" Standard Shower Tray Kit With Square Drain
Regular price $554.81Regular priceUnit price per -
56" X 60" Standard Shower Tray Kit With Square Drain
Regular price $770.78Regular priceUnit price per -
220sqft Standard Shower Kit - Linear Drain
Regular price From $716.54Regular priceUnit price per -
330sqft Standard Shower Kit - Linear Drain
Regular price From $845.55Regular priceUnit price per -
72" X 72" Standard Shower Tray Kit With Square Drain
Regular price $920.83Regular priceUnit price per -
48" X 72" Standard Shower Tray Kit With Square Drain
Regular price $782.55Regular priceUnit price per -
48" X 48" Standard Shower Tray Kit With Square Drain
Regular price $607.77Regular priceUnit price per -
42" X 42" Standard Shower Tray Kit With Square Drain
Regular price $626.42Regular priceUnit price per -
36" X 60" Curbless Shower Tray Kit With Square Drain
Regular price $670.75Regular priceUnit price per -
48" X 48" Curbless Shower Tray Kit With Square Drain
Regular price $745.90Regular priceUnit price per -
74" X 41" Curbless Shower Tray Kit With Linear Drain Offset
Regular price From $868.37Regular priceUnit price per -
49" X 41" Curbless Shower Tray Kit With Linear Drain Offset
Regular price From $844.83Regular priceUnit price per -
50" X 60" Curbless Shower Tray Kit With Linear Drain Offset
Regular price From $880.15Regular priceUnit price per -
74" X 78" Curbless Shower Tray Kit With Linear Drain Center
Regular price From $927.22Regular priceUnit price per -
49" X 78" Curbless Shower Tray Kit With Linear Drain Center
Regular price From $889.56Regular priceUnit price per -
75" X 60" Curbless Shower Tray Kit With Linear Drain Offset
Regular price From $927.23Regular priceUnit price per -
74" X 60" Center Drain Linear Drain Shower Kit
Regular price From $834.07Regular priceUnit price per -
74" X 60" Offset Drain Linear Drain Shower Kit
Regular price From $834.07Regular priceUnit price per


-
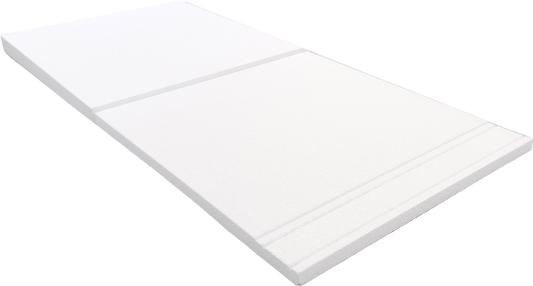
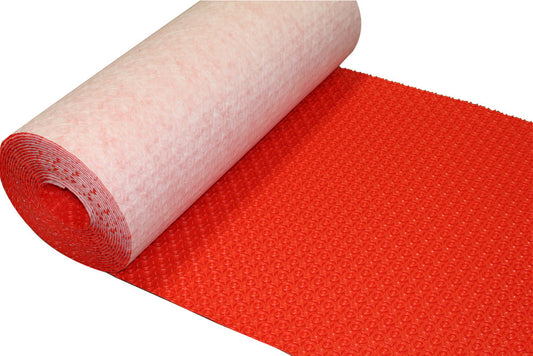
Shower Waterproofing Membrane
Regular price From $92.99Regular priceUnit price per$143.06Sale price From $92.99Sale -
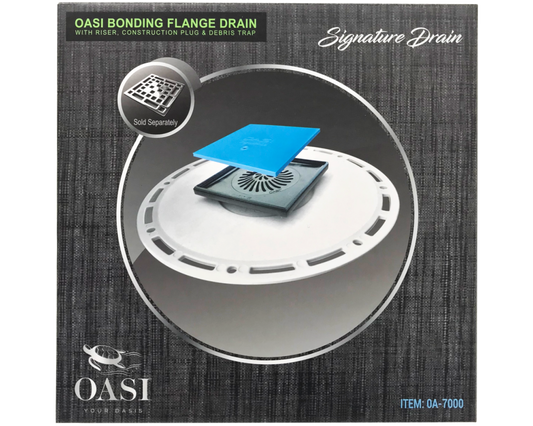
Square Shower Drain Kit
Regular price $105.86Regular priceUnit price per -
 Sold out
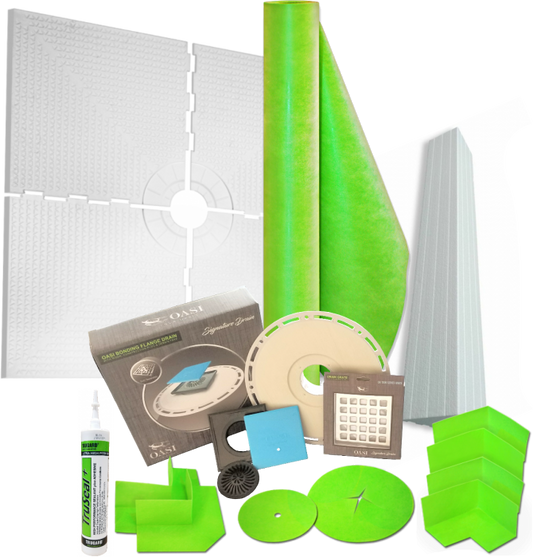
Standard Shower Kit - Square Drain
Regular price From $335.31Regular priceUnit price per -
 Sale
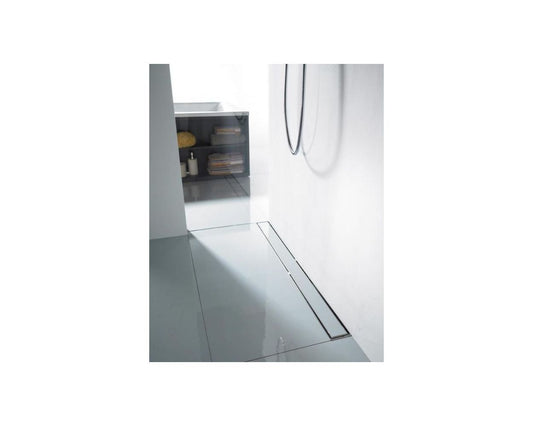
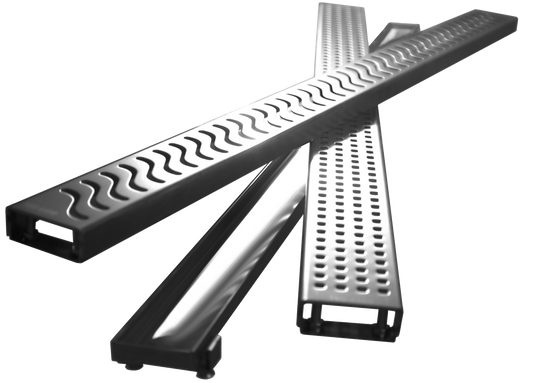
SaleLinear Shower Drain
Regular price From $334.26Regular priceUnit price per$514.25Sale price From $334.26Sale -
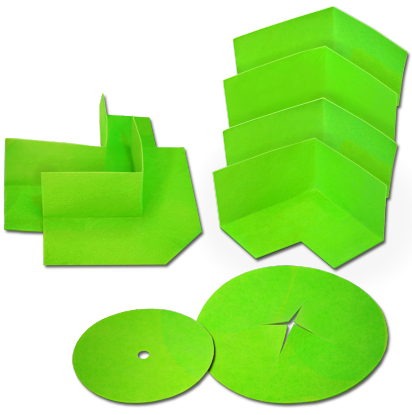
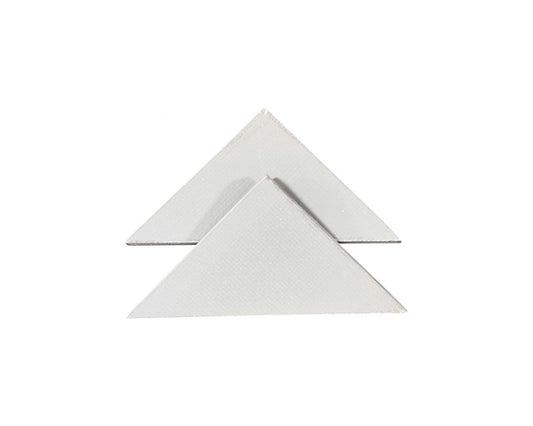
Shower Bands, Seals, & Corners
Regular price From $11.71Regular priceUnit price per$18.01Sale price From $11.71Sale -
Standard Shower Pan Trays for Linear Drains
Regular price From $115.34Regular priceUnit price per$212.74Sale price From $115.34Sale -
Curbless Shower Tray / Pan
Regular price From $128.29Regular priceUnit price per$197.37Sale price From $128.29Sale -
 Sale
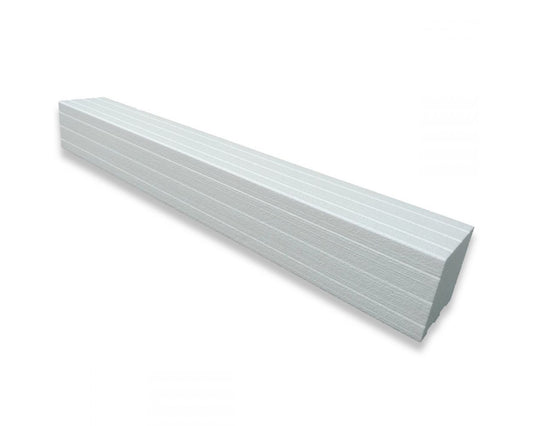
SaleTile in Shower Curb
Regular price From $51.79Regular priceUnit price per$79.67Sale price From $51.79Sale -
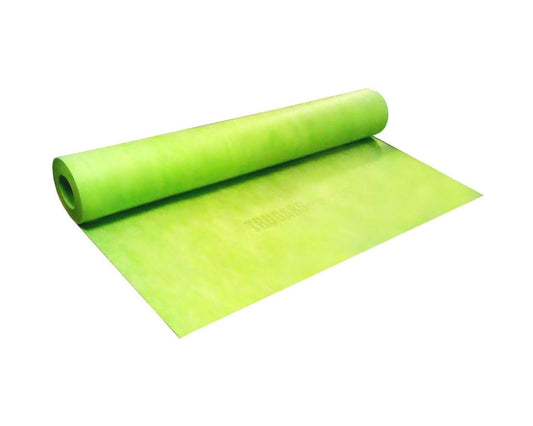
Steam Shower Membrane
Regular price From $115.34Regular priceUnit price per$177.45Sale price From $115.34Sale -
 Sale
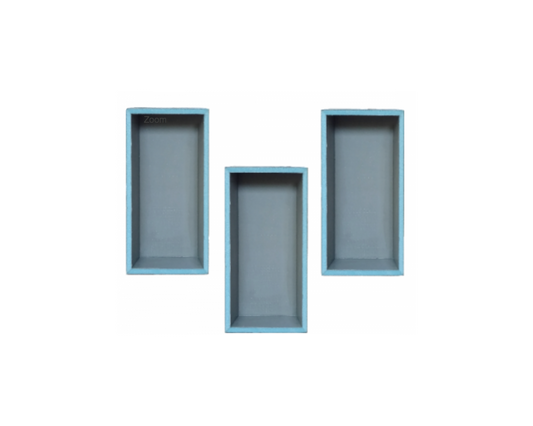
SaleTile Shower Niche
Regular price From $69.44Regular priceUnit price per$106.83Sale price From $69.44Sale -
Tileable Shower Bench Seat
Regular price From $114.17Regular priceUnit price per$175.65Sale price From $114.17Sale -
Tileable Shower Corner Shelves
Regular price $45.90Regular priceUnit price per$70.62Sale price $45.90Sale -
Prova Flex Uncoupling Mat
Regular price $636.80Regular priceUnit price per$979.69Sale price $636.80Sale -
Prova Heat Uncoupling Mat (Heat Wire Ready)
Regular price From $206.32Regular priceUnit price per$317.42Sale price From $206.32Sale -
 Sale
SaleTruly Warm Heat Wire
Regular price From $0.00Regular priceUnit price per$175.65Sale price From $0.00Sale -
TruSeal Waterproofing Sealant
Regular price From $21.18Regular priceUnit price per$32.59Sale price From $21.18Sale -
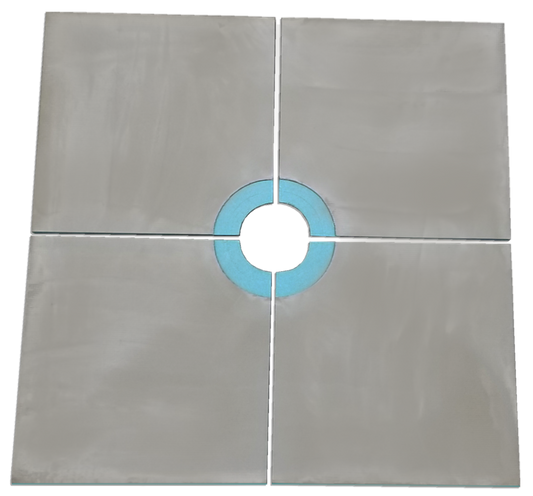
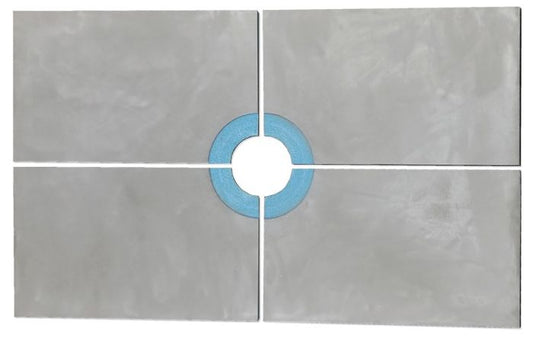
Standard Shower Pan Tray for Square Drains
Regular price From $138.28Regular priceUnit price per$212.74Sale price From $138.28Sale -
Curbless Shower Pan Tray for Square Drains
Regular price $257.76Regular priceUnit price per$396.55Sale price $257.76Sale -
Curbless Shower Pan Tray for Linear Drains
Regular price From $128.29Regular priceUnit price per$197.37Sale price From $128.29Sale