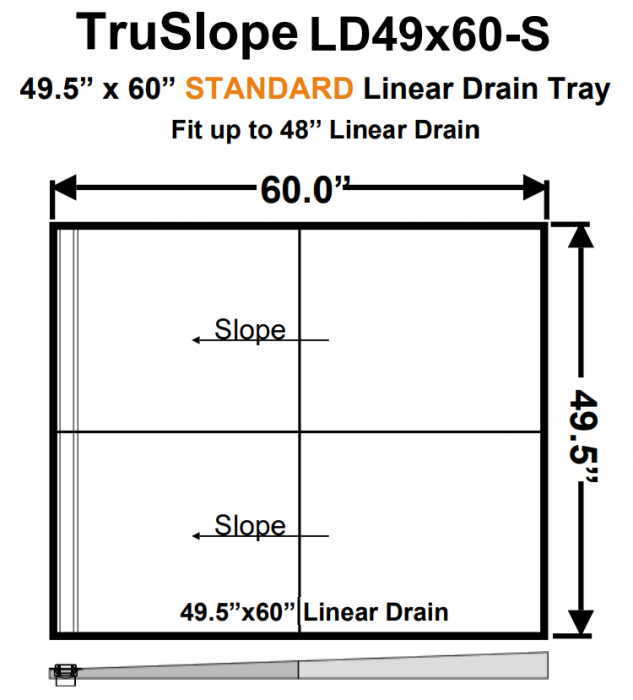
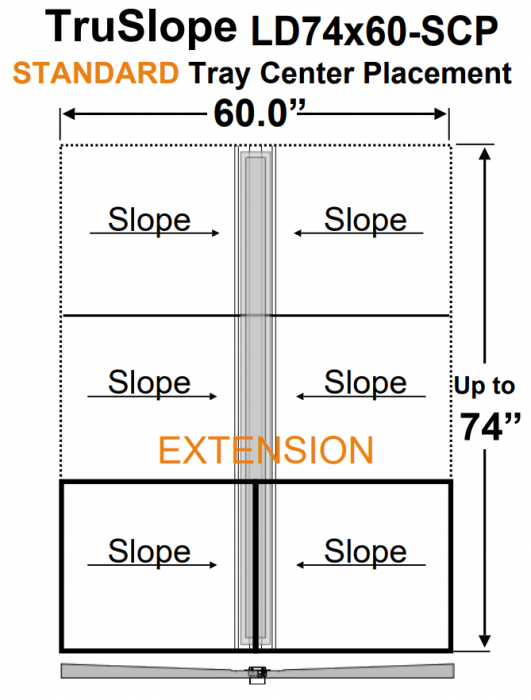
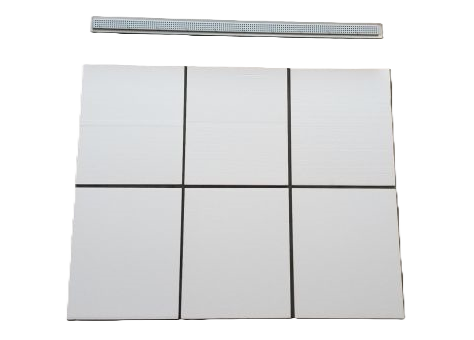
About Standard Shower Pan Trays for Linear Drains
Welcome to Trugard Direct, your ultimate destination for top-quality bathroom products. In this article, we explore the benefits of pre-sloped shower pans and how Trugard Direct's innovative offerings can enhance your shower experience. Discover the efficiency and convenience of our pre-sloped shower pans, designed to ensure seamless water drainage and simplify your bathroom installation.
The Advantages of Pre-Sloped Shower Pans
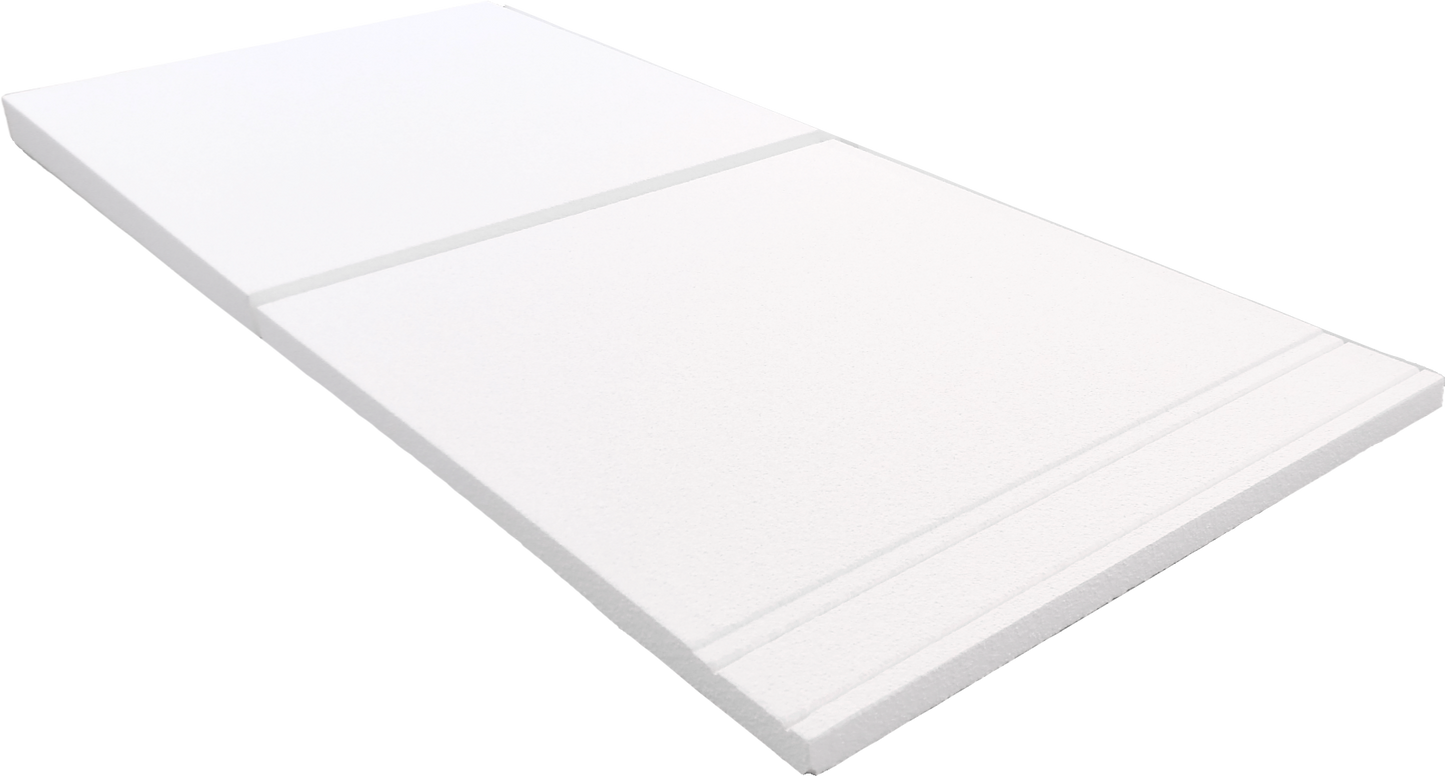
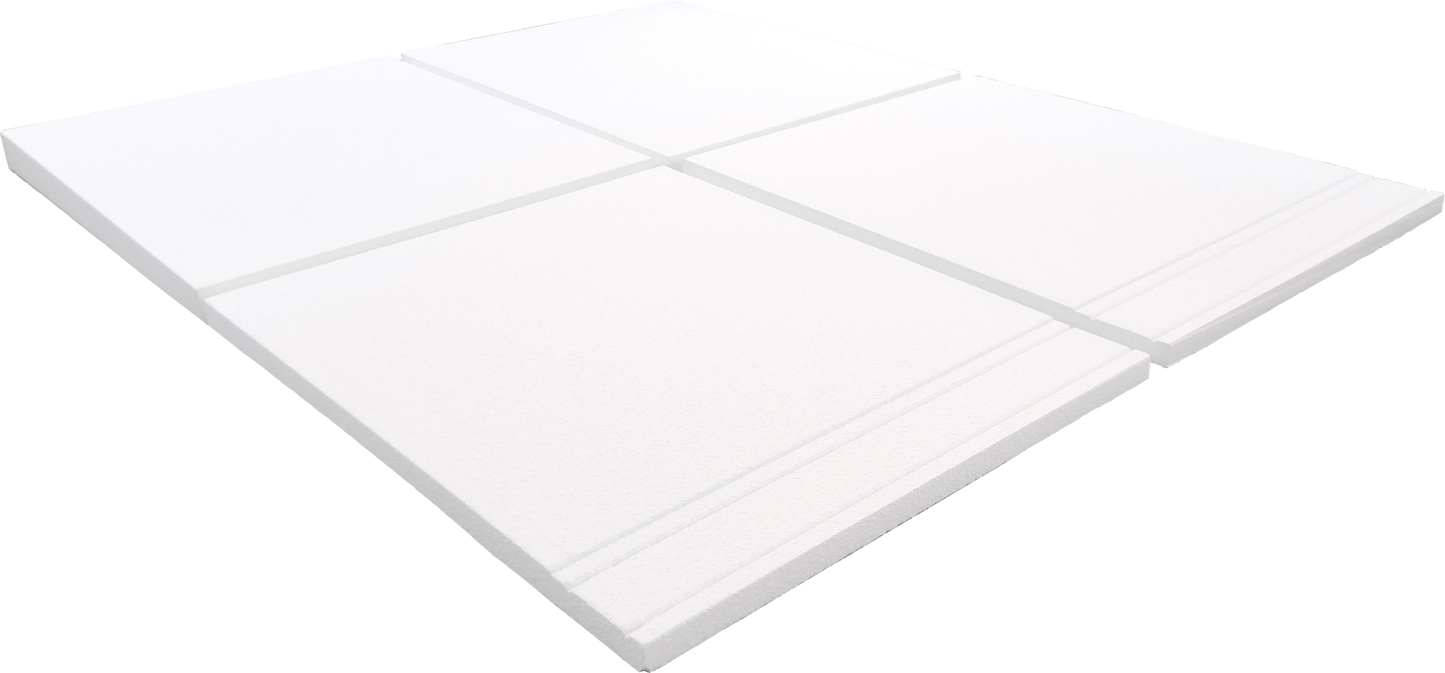
Pre-sloped shower pans have revolutionized the way bathrooms are designed and installed. These pans feature a built-in slope that facilitates water drainage towards the drain, eliminating the need for additional leveling and reducing the risk of water pooling. Trugard Direct's pre-sloped shower pans offer a quick and efficient solution for achieving a perfectly sloped shower floor, even in challenging bathroom layouts. Whether you're a professional contractor or a DIY enthusiast, our pre-sloped pans streamline the installation process, saving you time and effort while ensuring a functional and water-resistant shower space.
Streamlined Installation Process
Trugard Direct's pre-sloped shower pans are engineered for easy installation and compatibility with various substrates. The built-in slope eliminates the need for manual sloping of the subfloor, allowing you to skip the time-consuming process of creating a pitch towards the drain. Simply place our pre-sloped pan in position, ensuring a secure fit, and you're ready to proceed with the rest of your bathroom project. The straightforward installation process minimizes the risk of errors and ensures consistent water drainage performance, providing you with a hassle-free solution for achieving a functional and professional-grade shower space.
Optimal Water Drainage and Waterproofing
Trugard Direct's pre-sloped shower pans are designed to ensure optimal water drainage and prevent leaks. The integrated slope directs water towards the drain efficiently, minimizing the chance of standing water and the associated issues of mold and mildew. The pans are constructed with durable materials, and when paired with Trugard Waterproofing Membrane, they create a reliable barrier against moisture infiltration and ensuring long-lasting performance. With our pre-sloped shower pans, you can enjoy a dry and hygienic shower space, free from water-related concerns, and maintain a pristine and inviting bathroom for years to come.
Versatility and Customization
Trugard Direct offers pre-sloped shower pans in various sizes and configurations, allowing for versatile use in different shower layouts. Whether you have a spacious walk-in shower or a compact bathtub setup, our pre-sloped pans can be easily integrated into your design. Additionally, our pans come with customizable drain locations, enabling you to position the drain according to your specific bathroom layout and plumbing requirements. The flexibility of our pre-sloped shower pans ensures a perfect fit and a seamless blend with your bathroom design, elevating both the functionality and aesthetics of your shower space.
Upgrade your bathroom with Trugard Direct's pre-sloped shower pans to experience effortless water drainage and streamlined installation. Enjoy the benefits of built-in slope design, optimal water drainage, and durable waterproofing for a worry-free shower space. Visit Trugard Direct's website today to explore our selection of pre-sloped shower pans and transform your bathroom with ease.