Shower Curb
In this article we are going to talk about what exactly a shower curb is, different sizes, materials that can be used and the purpose of it. We are also going to talk about the benefits of having a shower curb and installation and the materials used for that. We will also be covering pre-formed vs. building your own and comparing the pro and cons of those topics. These topics will be broken down into their own categories so that it is easy to follow along. Let's get started.
- What Is It?
- TruCurb Sizes
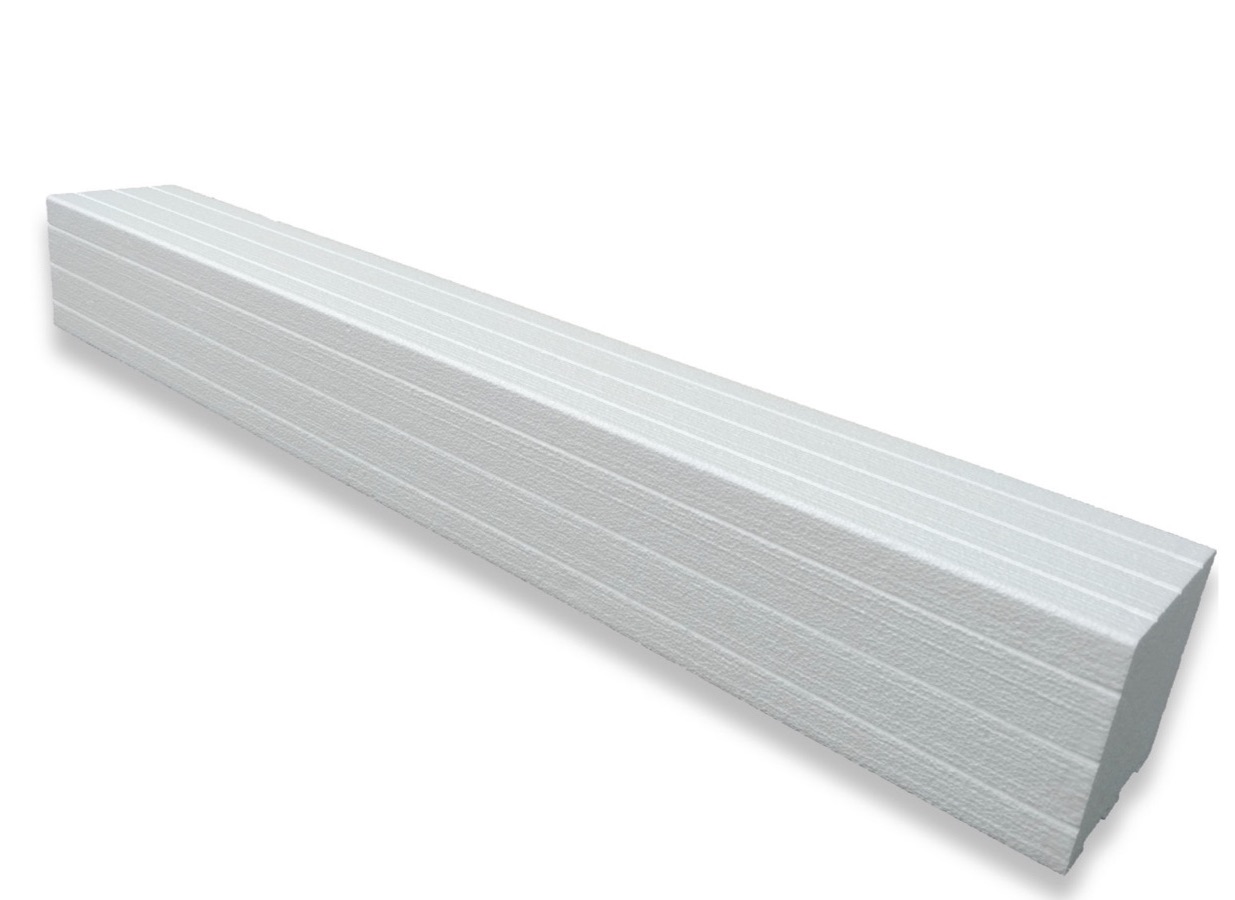
It comes in a wide variety of sizes and shapes - the choice is yours. The TruCurb comes in four standard sizes. 34 inches, 48 inches, 60 inches and 72 inches in length. All of the TruCurbs are roughly 5 inches thick and 6 inches in height. Since the TruCurb is made of a high-density, lightweight, expanded polystyrene, it is easily trimmed to fit the rough opening size of a unique showering area. Most US codes require that a barrier be two inches above the existing drain in your wet area. While this code is not valid for all United States locations, it is valid in most. With that being the case your barrier could be very low so long as with the slope of your wet area it sits higher than the drain. While the TruCurb tray comes pre-formed and in only one shape, there are many barrier tiles you can achieve since the material is easily trimmed. It come in many different sizes and thicknesses. You can have an ultra-low profile barrier that may only be one inch in height. These types are often used when someone wants a walk-in wet area but is unable to achieve a complete curbless bathroom due to floor restrictions.
- Materials
Materials are an important part expecially if you are building your own barrier. There are several different types of material that you can use to create your very own unique barrier. Materials such as wood, cement, cement blocks, pre-formed polystyrene pieces or even solid pieces of a high-density plastic. Any material that you decide to use in your bathroom can be customized to your own unique space and shape. Pre-formed options come made of materials such as expanded polystyrene or Santoprene. We will talk more aboout those materials and what they mean for you in the next section of this article.
- Different Types
- Pre-Formed Vs. Building Your Own
- Benfits Of Having One
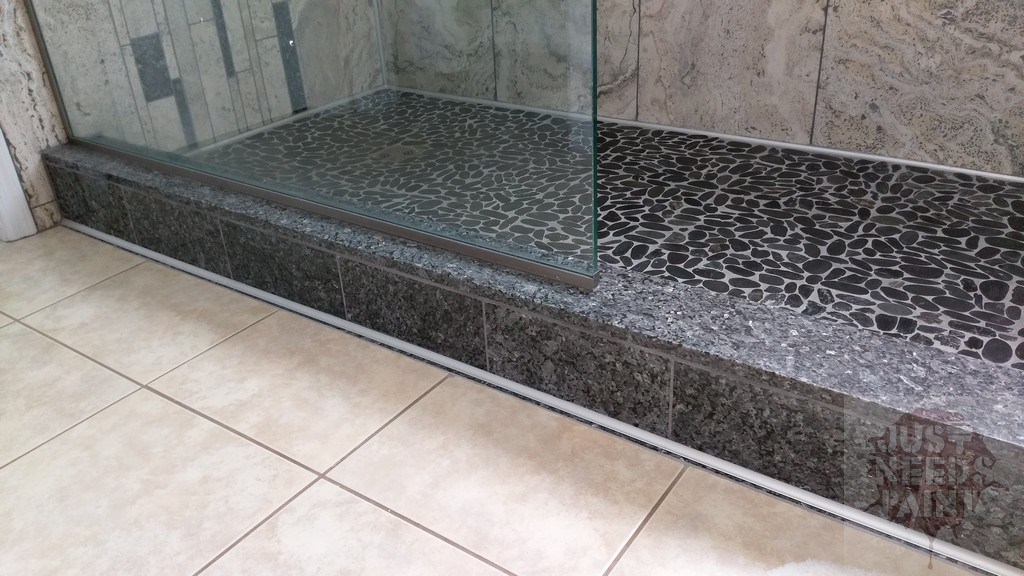
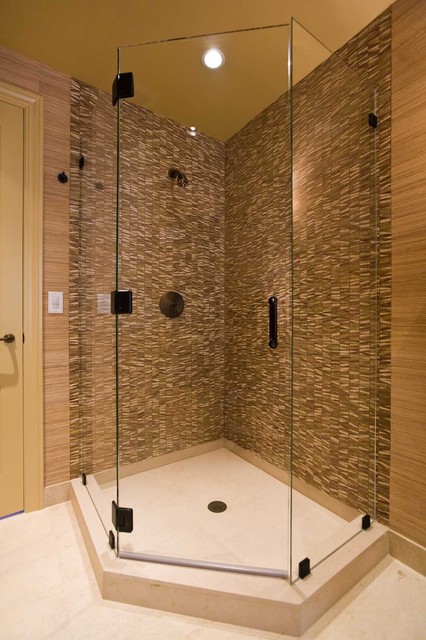
The benefits of having one is that it can provide a base for mounting brackets for a showering door and also allows you to mount a sliding door to the curb as well, or to the outside for your wet area itself. It will also keep all of the water in one central location. This can be a definite plus if you have a baby or an animail and all you have is a single wet area. It also allows you to have a walk-in area without having to potentially alter your showering subfloor or your existing bathroom floor to achieve that low-profile look - that dream bathroom - while also still being very handicap accessible at the same time. There are many different benefits to having a barrier in your bathroom. These are just to name a few of them. Low profile barriers are still very easily installed and can be used to have a wheelchair go in and out of it...Walkers, canes and things of that nature. The TruCurb is made out of high-density, lightweight expanded polystyrene with constructional shower dams. Trucurbs are specifically designed to integrate the TruGard Standard TruSlope Center Drain trays, Standard TruSlope Linear Drain trays and the TruGard Vapor-Shield or Steam-shield waterproofing membrane system. This type of barrier comes ready for installation and tile.
- The Purpose Of It
The purpose of a barrier is more than just for aesthetic reasons. Sure they look good but they also serve a purpose. The reason of a showering barrier is to keep the water in your wet area in one central location. When it is used in conjunction with one of our TruSlope Standard Center Drain or Linear Drain trays, the water from your wet area stays inside and drains properly. Having a curb in place gives many people peace of mind that the area outside of their shower isn't continuously being saturated with water causing irreparable damage that may result in thousands of dollars in costly repairs. Many people worry about mold and mildew buildup so having this extra protection that separates the water from their bathroom floor helps them achieve that.
- Installation
During this section we are going to talk specifically about the installation method used for the expanded polystyrene foam one mentioned above. This barrier will be installed in the rough opening area of the wet area using modified thinset mortar. You want to make sure you apply a decent amount of thin-set to your subfloor, but not to much. After your mortar is down you will take and place the barrier in the rough opening of your area and press down firmly. While pressing down firmly you want to slide it back and forth to esure the mortar gets into all the grooves on the backside. You will want to pick it and and make sure the entire backside is covered and then put it back in place. If the entier backside is not covered you may need to slide it back and forth a few more times and then recheck it. In some cases you may need to add just a little bit more thin-set mortar. Once it is in place, you are ready for the very next step. You will then want to apply some type of watproofing membrane over the top of it using the same modified thinset mortar you used to install the barrier. Once your Vapor-Barrier is in place, you want to to install some pre-formed inside and outside corners around the edges to ensure those tight corners are nice and water tight. For more information on installing waterproofing membrane and pre-formed corners click here. The final step is to apply your tile selection. Tile selection can vary in any size or shape depending upon the design that you want for your unique showering area. When using tile that is in a mosaic form or smaller tile format, you may want to apply an additional layer of thinset mortar on top of your membrane and allow it to cure completely before starting to apply your tile. building a curb for a shower If you do not provide tihs extra layer of support then you run the risk of cracking your tile and grout when you put pressure in one direct spot. This can be done with the heel of your foot or possible even your wheelchair wheels. You can also apply a sheet of cement and mortar backer board to the top of your barrier to achieve the same result. Once you have completed this step if necessary you are ready for tiling. Installing your barrier may seem like a lot of work but in reality it is pretty simple