Welcome to Trugard Direct, your trusted partner for premium bathroom solutions. In this article, we explore the convenience and sophistication of curbless shower pans. Discover how Trugard Direct's innovative curbless shower pans can enhance accessibility, add a touch of modern elegance, and transform your bathroom into a stylish and functional oasis.
The Advantages of Curbless Shower Pans
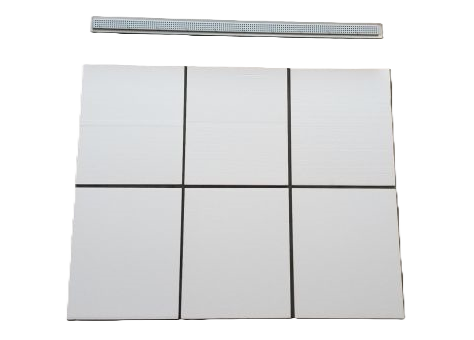
Curbless shower pans have become increasingly popular for their seamless and accessible design. Unlike traditional shower pans with raised curbs, curbless pans provide a smooth and barrier-free entry into the shower, making them ideal for users of all ages and mobility levels. Trugard Direct's curbless shower pans are engineered to allow easy wheelchair access and provide a sleek, minimalist appearance. Beyond accessibility, these pans offer easy maintenance and create a visually open and spacious shower area, elevating both the functionality and aesthetics of your bathroom.
Enhanced Accessibility and Safety
Trugard Direct's curbless shower pans are thoughtfully designed to promote accessibility and safety. The absence of curbs eliminates tripping hazards and eases entry for individuals with limited mobility or those using mobility aids. This user-friendly feature not only enhances the shower experience for all users but also ensures a safe and inclusive bathing environment. The flat and level surface of curbless shower pans allows for seamless wheelchair access, making them an ideal choice for aging in place or creating an ADA-compliant bathroom.
Contemporary Design and Customization
Our curbless shower pans are more than just functional; they are a design statement. Trugard Direct offers a diverse range of sizes and styles to match your bathroom's aesthetics. From modern and minimalist to classic and sophisticated, you can choose the perfect curbless pan to complement your design vision. The flexibility of these pans also allows for easy customization to fit your specific shower layout, creating a seamless integration that enhances the overall elegance of your bathroom.
Easy Installation and Low Maintenance
Trugard Direct's curbless shower pans are designed for fast and easy installation. The level entry design simplifies the installation process, ensuring a seamless connection to your bathroom floor. Whether you're a professional or a DIYer, this simple installation is achievable by all. Compatible with both new construction and renovations, and comes complete with step-by-step instructions.
Upgrade your bathroom with Trugard Direct's curbless shower pans to embrace accessibility and elegance. Enjoy the convenience of barrier-free entry and create a modern, sophisticated bathing space. Visit Trugard Direct's website today to explore our range of curbless shower pans and elevate your bathroom to new heights of style and functionality.