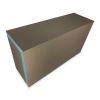
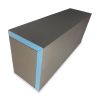
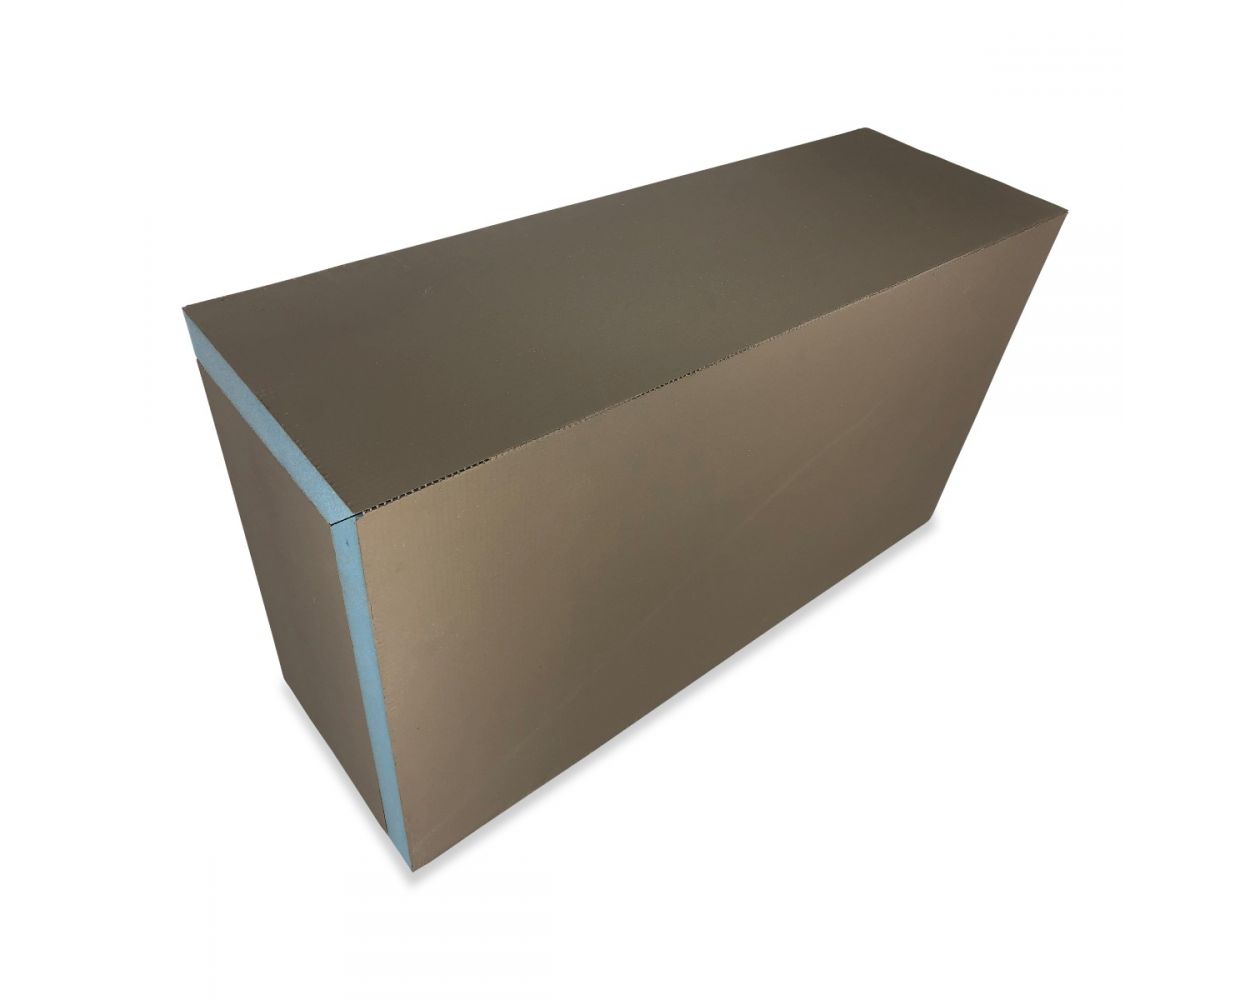
Tile Shower Bench
As low as $187.14 Regular Price $287.91
In stock
Tile Shower Bench is what we are going to talk about what exactly it is, the different sytles available and the materials used to make the bench. We also want to discuss how it is waterproofed, and issues that may come up in terms of durability and finally the different tile options you can choose from.
- What is it?
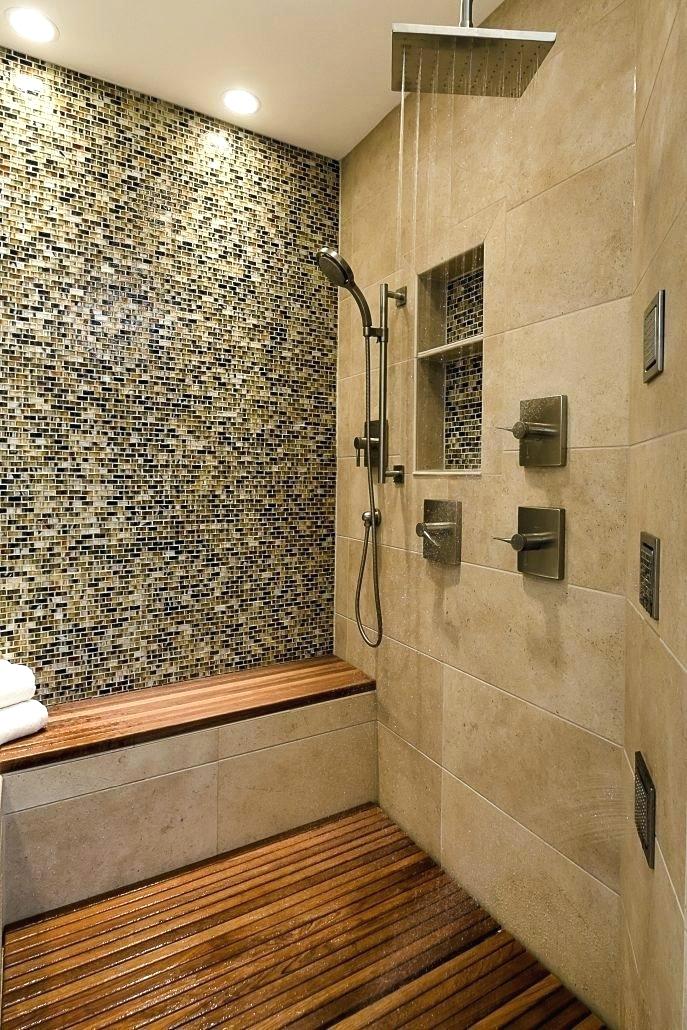
What is a tile shower bench? Well first of all if we just break it down - the word here - you can get a couple of different concepts. First of all you know it's a seat which means there's going to be many different positions, heights, styles, but ultimately it's a seat that you're probably going to sit on. Number two - shower. Alright so it's going to be in a shower, but are benches/curbs only in showers? Maybe, maybe not. There are different things when you start looking at handicap accessible and stuff like that, but for this article we're going to purely talk about benches within the shower. The last piece here is tile. Tile is a material. It is what we are for the sake of this article talking about that is used to cover the structure of the seat. Alright, so now we know what we're going to be talking about here and we know that it's something that we're going to sit on that's in the shower and for the purposes of this article it's going to be covered in tile.
- Styles
 There are way too many different styles out there for us to discuss every one of them. However, there are a few classic ones that you can typically relate to that most people use. Imagination is all that limits you in style. So one of the things that we're going to first talk about under this section is going to be lenght. So this is all going to be relative to your showering area. You may have just ripped out a bathtub and you are putting in a showering area, you're going to tile the whole thing. Your seat can only be as wide as what was structurally already there when you were remodeling. So a typical bathtub is 3'x5'. So your seat can either be 3' or it can be 5', but depending on the width now if you put it along the 5' you only have possibly 2' left of leg room to walk around. It doesn't necessarily make sense to do it this way. So in normal showering areas people put it on about a 3' side so your kind of determined or pre-determined length based on the room you have available for the showering area. Common sense I know, but I want to make sure that we're covered and clear here. So more on length... There are already products out there that have typical standard sizes and there are companies out there who create custom sizes. There is even the option of you being able to make your own custom build and create the seat length that you need and want if it's not already available. So length here - most of the time you're going to look at and want only about a 48 inch seat.
Now if you're looking into having a sauna room or if you have a 10'x10' wet area and you want seats and you want the ability to turn it into a sauna, that all is going to be needed to be taken into account when looking at the seat length. One of the other things with length comes width, and you need to look at that as well. That's also going to depend on not only the room you have available in your showering area but what about body type? Not everybody's got the same size ass. So if you're a couple or you're a family, just you, or your clients, your customers... You have a profile and maybe they're all on a slimmer side. You don't need a 16, 18 width seat. I mean even over 14 is still getting pretty big, but it's all going to depend.
 Say for instance if you're a commercial builder and you're building a weight loss center, that might actually take into an effect of what size seat because if you have a 12-inch width seat so you only have 12 inches for your butt to sit on, nobody in that center is going to be able to sit on it because only a piece is going to fit. So you have to take that into account. We're not you know, trying to get into what is better but I just want to bring up all the different situations that are going to come up. So now that you've taken a look at the length, now that you've taken a look at the width and you understand the differences and why you need to actually look at these - you now can choose a seat size that is going to fit right for you and your showering area.
Now we're going to move on to the second thing here which is going to be the position. I alluded to it shortly or quickly above where I mentioned when you remodel a 3x5 wet area you can't put a five foot seat along that five foot wall because it's only three feet wide and now if it's even only twelve inches which is a small width for a seat, you only have two feet to stand. Two feet is not a lot of room to stand and it's going to cause more problems and be more annoying than beneficial. So positioning is going to be the next very important thing when looking at the seates. Where do you want to put it, okay?
So not only along the wall, you don't necessarily want to do.
Now if it's a five foot by seven foot wet area, you might want a five foot seat along a five foot wall that's a little bit wider and has more width, maybe it's 14 inches, where you can sit down and relax. There is also All Benches for Your Shower crazy seats that can be made that are like wave legs so it can actually form to your body much like a chair and you can run that across and that's going to be more of like two to three feet wide. That still gives room for a showering, but you have the ability to lay down. Then you're going to want to look at different accessories to make sure that you know, you might want a rain head over that or something like that.
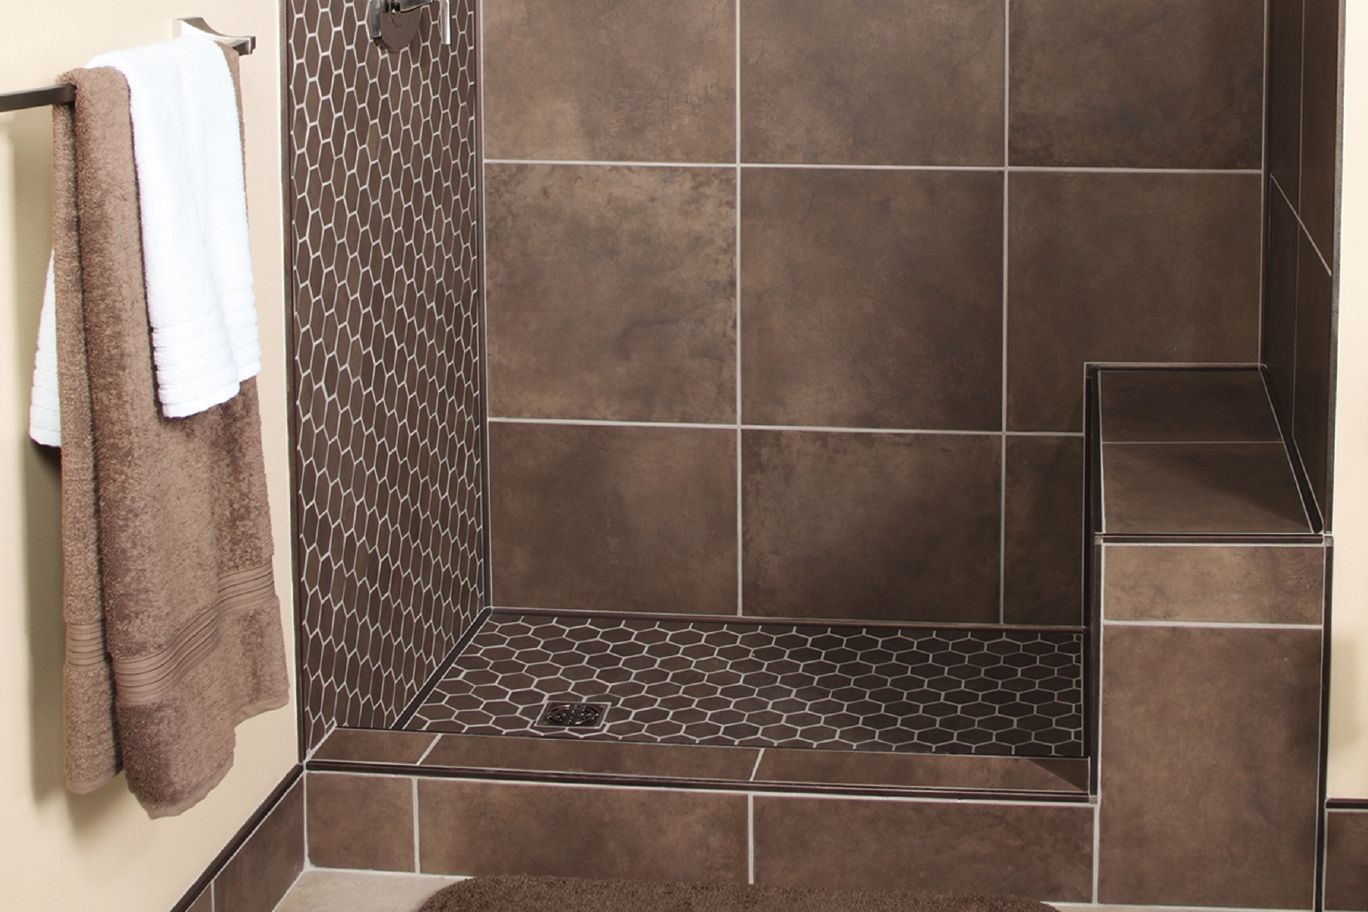
So seates can be done many different ways, styles and it all just depends on what you are looking for. Now the other thing about position is seates aren't only rectangle. You can have a corner seat. You can have a circular seat. You can have one in the center of the wet area to sit down on in the center and do different drains and types of things like that. Also, linear trench drains can also -- Or seates can also sit and be attached higher up on the wall. They don't necessarily have to be set down to the ground. So you could have a seat that comes out 14 inches but then cuts back at a diagonal, not necessarily 45 but any sort of degree and it has a smaller base underneath, right? So there's that kind of option as well. There's half circles and corner seates and different positions that you can place it and it's all going to be relative to where you want the drain, how you want the water to flow, where is your entryway, how big is your wet area, how many walls do you have under your wet area? You can't put a seat where two glass walls meet because it's an open concept wet area or even if it is all concept and it just has two walls and one glass wall you can't put a seat at the opposite end. So positioning matters based on the whole overall wet area that you want to look for. Sketching this out is just a very good way to really understand what you're looking for and what you're trying to achieve and the things that you have ability to put within your wet area like the seat.
- Materials
Third here we're going to talk about materials. Materials... I know this alludes to talking about tile and that's just a finishing item to the seat, alright? You're just finishing, you're covering whatever you used to construct the seat structure and you are now covering it with slab. You can also do like stone slabs, you can do pebbles. You can even do just a solid concrete base, if you're going for a concrete modern feel. However it's very not recommend. You would have to use a sealer otherwise concrete is very porous and then it leaks, but we will get to that in the next section here where we talk about waterproofing.
But your material can be whatever you want in the look and feel that you are looking for when using a or looking for a finishing material. Now the other side of material is your structural material. What are you using to create this seat? Is it cinder blocks? Is it brick? Are you framing it with 2x4s? Is there a pre-made one that you're looking to use maybe made out of high density polystyrene, which is a fancy way of saying compressed Styrofoam or very hard Styrofoam. It has a high compression ratio. Or there's also some newer - it's polystyrene, but its extruded polystyrene and some of them have a fiberglass and concrete mesh on top and that creates a super, super almost concrete feel for a structure. That's what our seates are made out of. If you want more on that, click here. But overall, it doesn't matter how you get or what you use to make or structure this. The position, the length, the width, the materials to build it and the materials to finish it with - all of them need to just be taken into account when looking at this.
Now some of the thing with the materials for structuring we want to look at is the time it takes. Some things - pre-made items - are obviously a lot faster. It depends on of course what the item is or how much it's pre-made or if it's a ready to assemble type product there might be some technical aspects that you'll need to know to do it yourself. However with this kind of product there are a lot that come fully made, like a 12-inch by you know, a 36-inch will come pre-made exactly that big. All that you do is you install the showering kit based on the manufacturer's methods to install that. So choosing your materials - 2x4s. You've got to know how to frame, you're going to need to use driver screws, Liquid Nail. You need to be able to build something very, very solid and very, very structural.
Shoot, you could use metal if you wanted to to make it even you know, more durable. Not recommend, just because of the time and the effort. Cinder blocks - if it's up on the second floor you've got to keep in mind that you're going to be carrying as many cinder blocks as it takes to do that area so you have to figure that math out based on the area that you have. You're going to have to do some heavy math to figure out how many cinder blocks you need. Then you've got to buy it, you've got to transport it. You've got to unload it, offload it, you've got to carry it up the stairs. Not to mention the concrete that you're going to need to bring as well to conjoin all the different cinder blocks together or bricks, that kind of a thing. So take that into consideration when looking at this type of a product.
- Waterproofing
![]()
Number four - Moving into waterproofing. Waterproofing is always going to be one of the biggest underestimated categories when remodeling, building or doing anything within the showering area. Okay, so with seates there comes more corners, there comes more creases, there comes different angles - if it's rounded, shapes, sizes. So waterproofing membrane, you need to understand and to learn more about just waterproofing and the different technologies and the concepts and things. Click on this article here. But for this instance with the seates, it really depends on what type of materials you're using both structurally and finish-wise. If you are using a solid steel seat, you've welded everything. Maybe you're a underwater welder for an oil company and you just understand and know how to do the best and tightest welds and shoot, you build the whole thing out of you know, solid steel then waterproofing's not really going to be an issue. You're going to have to worry about rust, a whole different topic. Depending on the finishing you have to do different types of materials. So I know I went a little extreme there, but I'm trying to drive the point home as -- If you build it with a 2x4 and you cover it with plywood, it's wood. Wood gets wet, it rots. We know what happens - mold, mildew, okay?
Cinder blocks - great, they're concrete. So what's going to happen? They're porous, and like I have mentioned in other articles when things are porous and there's water in the air or vapor, it's going to soak it up and then it's going to send it wherever it wants to with gravity. So cinder blocks - they're made and conjoined with concrete so it's going to consume it. Then it's going to start pushing it down so it's going to soak up all this water, but then what did you put the cinder blocks on to start the structure of this whole thing? Probably a wood or a concrete board. Even though a concrete board is technically waterproof, the concrete board won't ever really decay, but what'll happen again - it will soak up all that water and push it to what's underneath that, which underneath that is going to be plywood - and then it rots. So at some point in every instance no matter what you're using, water will get to wood and will rot. This is why this is one of the most important topics when looking at any of these products or reading any of these articles or looking to do any kind of job within the home. Always, always keep that in mind. Definitely check out our article on that so that you can fully start understanding and grasping that and have a better mind to be able to do your research and look through things to create a full, nice system.
- Issues
Number five - Issues. Issues are - and what I'm talking about with issues here is going to be durability. Durability - like I've said, in the extreme sense. Building an entire seat out of steel and rubbing all of your edges and just creating this thing is going to be a lot more durable than even using 2x4s or even using cinder blocks or even using the pre-made Styrofoam seates out there. That is all going to be a problem and you need to take into account the durability of the product that you're looking into. Now don't be scared if you're using a high density of compressed Styrofoam because those have been made with machines that have high PSI that is used to basically compress into the shape of the product. So the only thing you need to worry about these - and I cover these in other articles for trays and curbless/walkin trays - is the pounds per square inch. We call it the "high heel effect". If you take your heel or your high heel and you step on something soft like grass, you're putting all of your weight on one small little tiny area at the bottom of the hill and therefore that little tiny area is holding your say for instance two hundred pounds. It's two hundred pounds of pressure for that little half inch circle, okay?
Now if you are standing on your flat foot, just one of them, now it's 200 pounds on you know, whatever size your foot is! If you have a 12-inch X 12-inch slab, you're now standing, you have 200 pounds on a 12-inch X 12-inch slab. The pounds per square inch now continuously, significantly decrease. So the finishing material will take effect on the durability of the structure and what you're using. So using larger format slabs with pre-made or ready to assemble products will be better than using a smaller pebble or mosaic slab, just because of the pounds per square inch.

And then six here - slabs to use. I just alluded to it a second ago at the end of section five, but a lot of it's going to come down to the size of slab that you are using and what you're using the seat for or that area. A larger slab's going to have more or less pounds per square inch so that you can actually have more and more weight that won't be able to crush -- I mean, when you use a 1 foot x 1 foot you can almost get up to 1000 pounds on just that one slab, but then now you're actually worrying about the slab's weight capabilities before actually a Styrofoam, which is very interesting but it all depends on the weight distribution and it's capabilities and the product, the finishing product that you are standing on and the structural product that you are using. So mosaics look great in these certain circumstances depending on the style of the home and what you're going for - pebble flooring and running up the wall and different things. Those are some very high quality concepts that I would look through and reach out to different outlets that show a lot of pictures in that area to get a really good sense, but in the end slabs to use has nothing with do any of our recommendations. There's a little bit of the weight distribution. It's about the only technical thing you need to know and the capability of that slab is what you need to know. The style, design, color, shape - that is all heavily dependent on you and what you're going for and I would recommend talking to a design specialist that is specifically trained for that and has a lot of experience creating those.
In conclusion, thanks for reading this article on tile shower bench. We covered a lot about seats and if you have more questions or comments there are other links that we've referenced to in this article to dig further into this but always feel free to give us a call and we can talk more on the specific question that you have. Thanks for reading.
| Features | TruBench prefabricated Rectangular Shower Bench Seats are made of high density lightweight expanded polystyrene for easy and quick construction of shower benches. Rectangular Seat benches are most often used in medium to larger size tile showers. TruBench Shower Seats should always be installed directly on the subfloor substrate structure with the TruSlope shower tray or traditional mortar bed always abutting up to the shower bench component. Similar to the sloped shower floors, the TruBench seats should also always be installed before the waterproofing membrane is installed. |
|---|